 This is aggravating. The head of the strap fastener is slightly stripped and the shaft is bent. 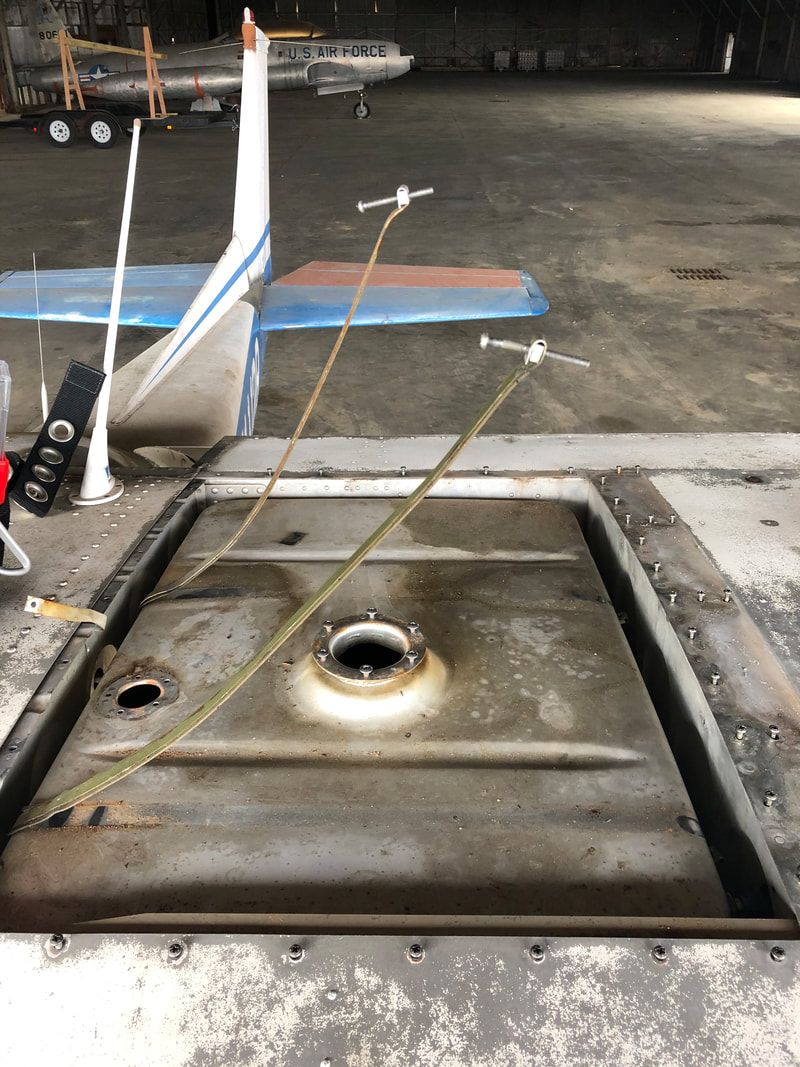 Patience with a #2 Phillips, vice grips, and 3/8" combination wrench pays off! Kyle helped me pull the tank out. It was a tight fit and I was initially unaware of the wood blocks wedging the tank in place forward and aft. They are shown in the manual but not clearly called out. The manual just says basically remove whatever is necessary to get the tank out... big help.After the aft block was removed along with several snug fittings and some curious head scratching, we were off to the races! Side note: I am learning to work with Kyle. He has every tool imaginable and is extremely knowledgeable, but his humor leads him to say things like, "I'm gonna cut these wires because I don't know where they go." or "I put the screws in the tank so you wouldn't lose them." He's pulling my leg but I haven't gotten used to it yet!  Co-Pilot side tank went much quicker than the Pilot side but there is a lot less evidence of previous work. The transmitter seal also shows a lot more signs of leaking. There is no zinc chromate on this side. 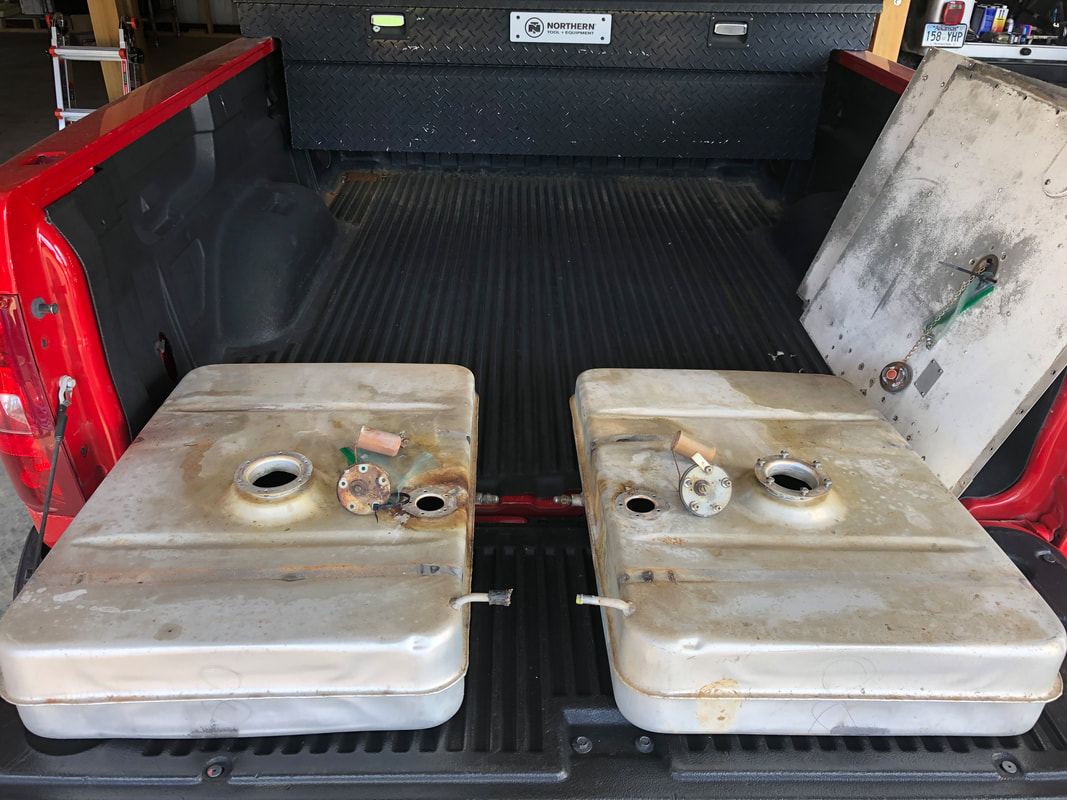 Back to the house where I can work more easily. Why not? It is a beautiful day! 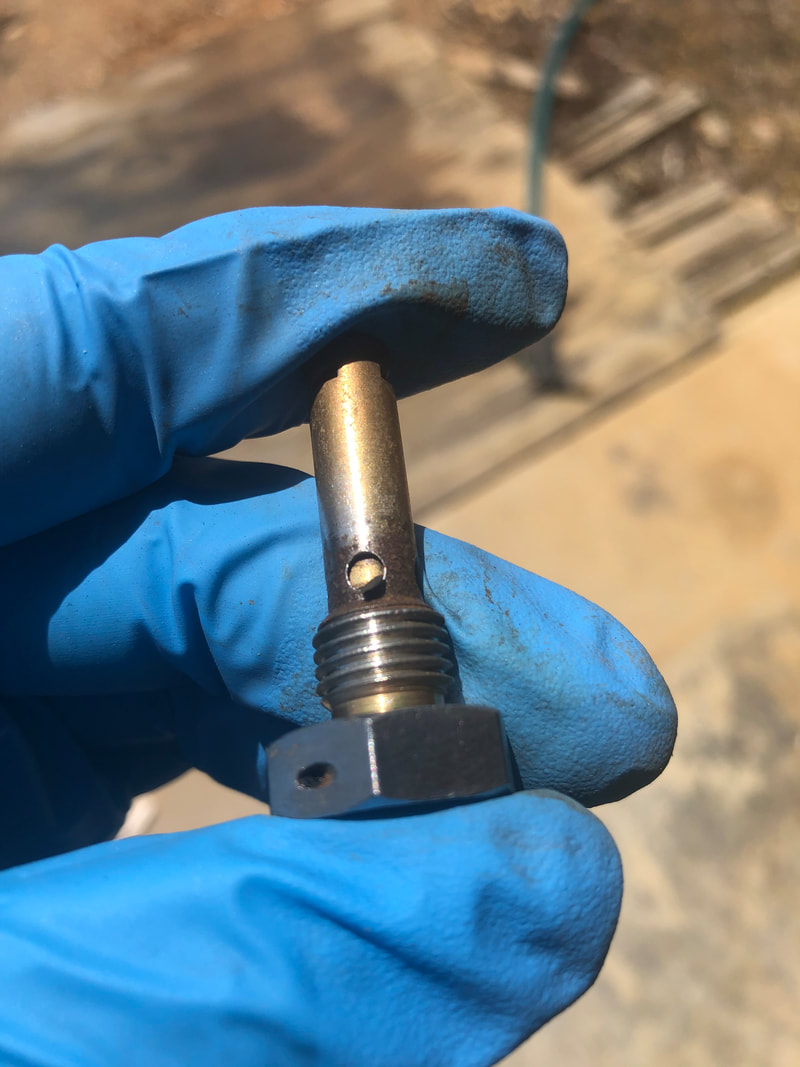 The sump drains are pretty gummed up. A little wire brush action later reveals a problem. The O-Rings and seals are shot. I know some of these can be rebuilt but I am assuming this is original and not one of them. $50 later and I have two added to my Aircraft Spruce Shopping cart. 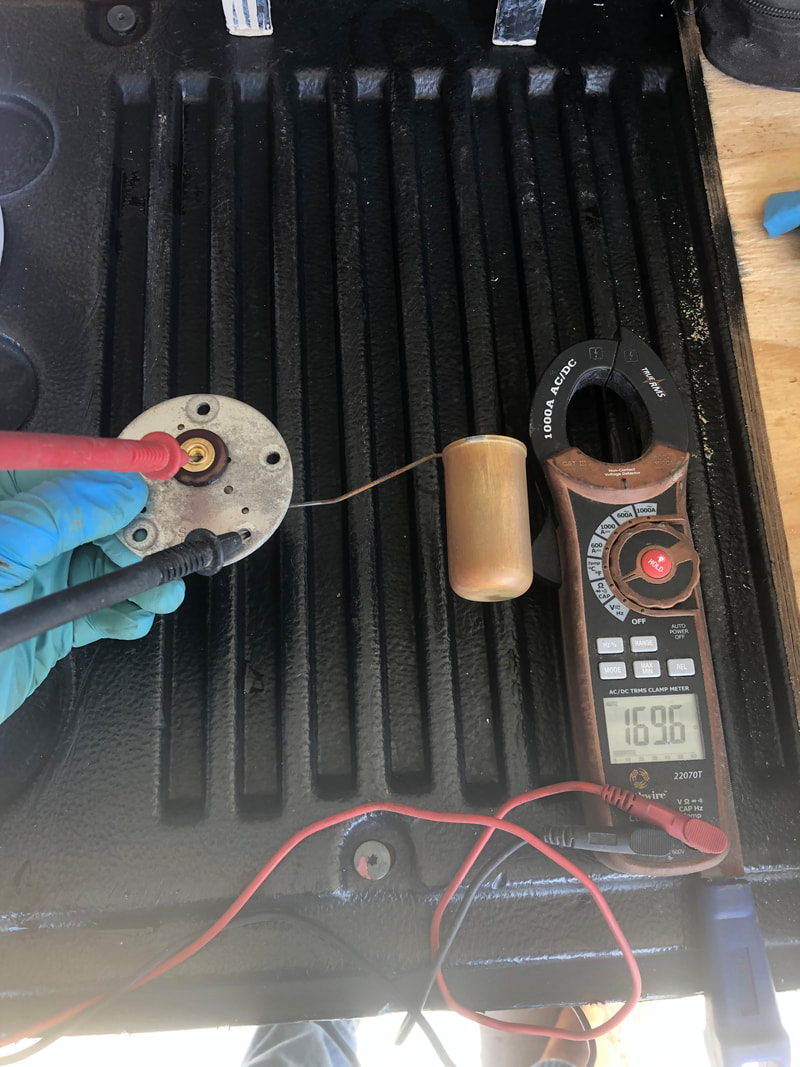 A little cleaning and testing shows two fuel transmitters that should be okay to go back in the plane. The copilot side transmitter shows a lot more wear from storage without fuel than the pilot side. The copilot transmitter also has the original cork seal while the pilot side has been replaced with a vitron seal. I can only assume a long, long time ago the pilot side tank was removed and reinstalled with repairs while the copilot side remained in service after a prolonged storage period. I know the plane sat before my grandfather purchased it in 1987. Maybe this is evidence of that? 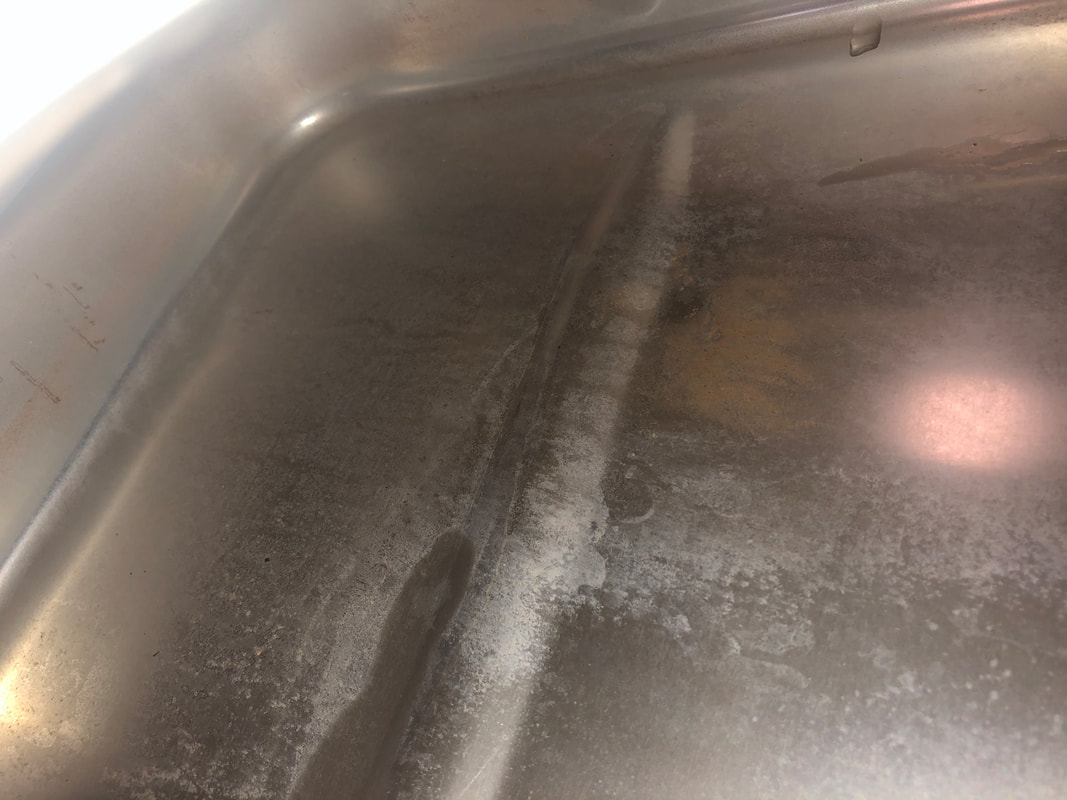 Pilot side looks pretty good after some acetone. Alumiprep 1201 is on order to bring it across the finish line. Aircraft Spruce - $20 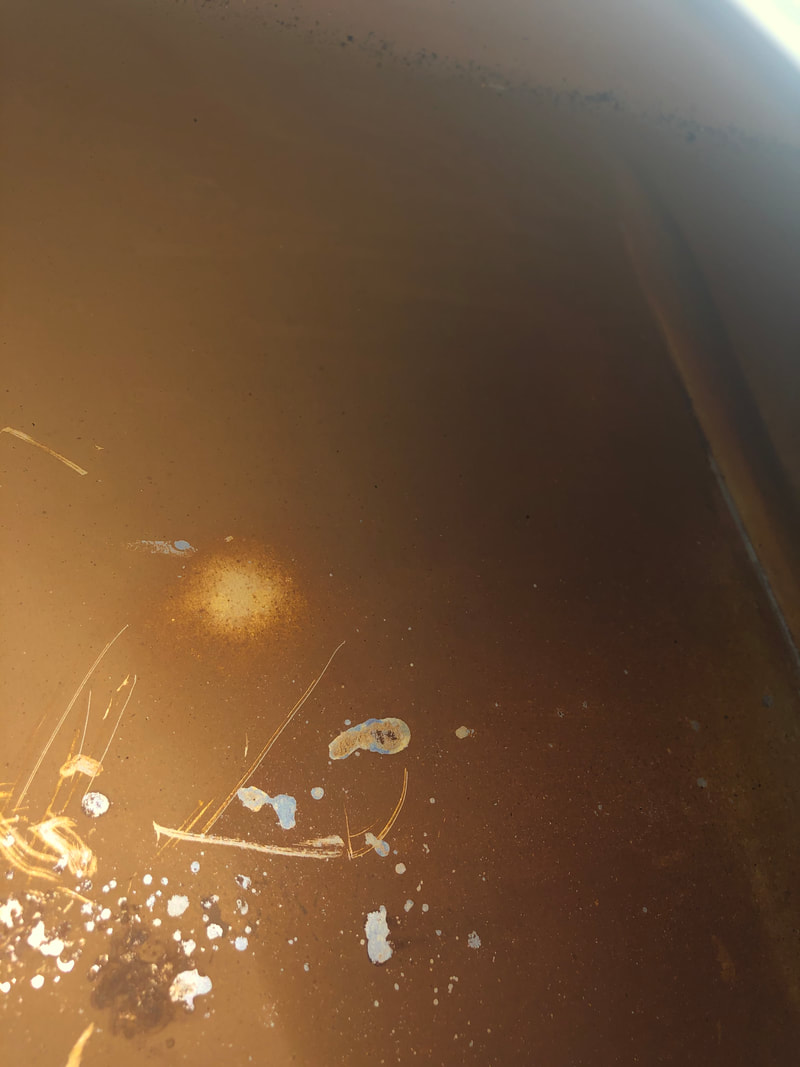 The Co-Pilot side ain't gonna fly without some work. 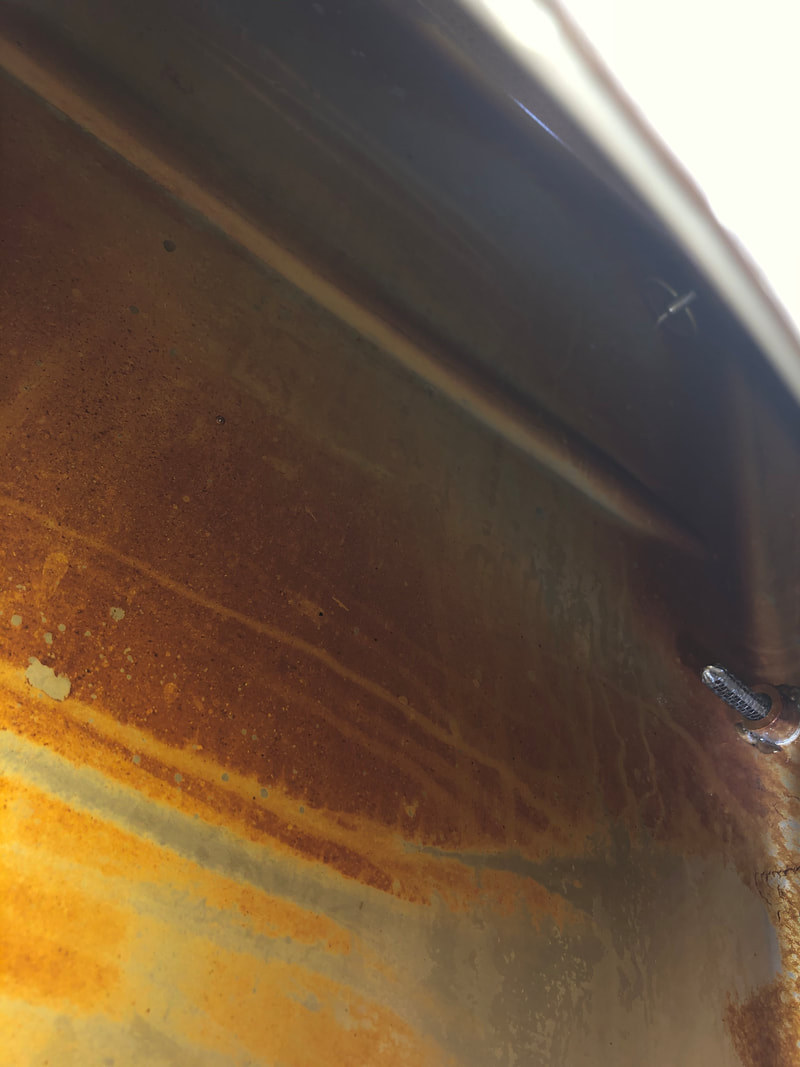 Acetone is not working as fast as I would like. 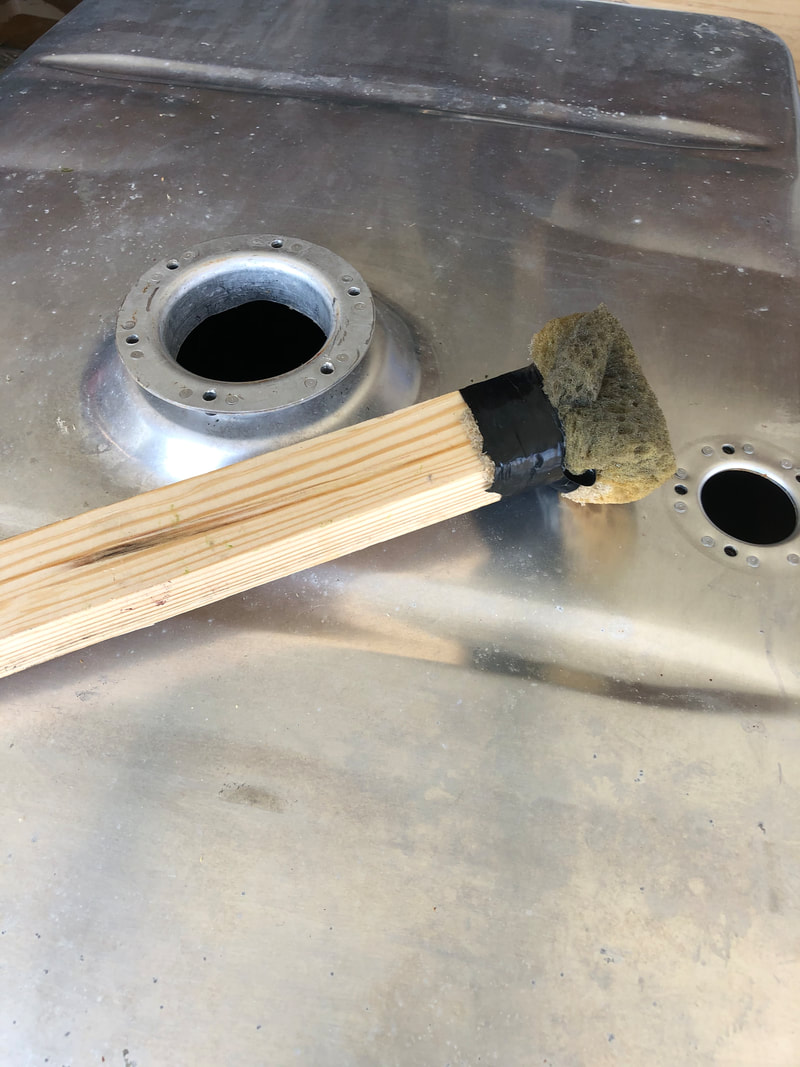 Maybe this will help with a third of the bottom of the tank. 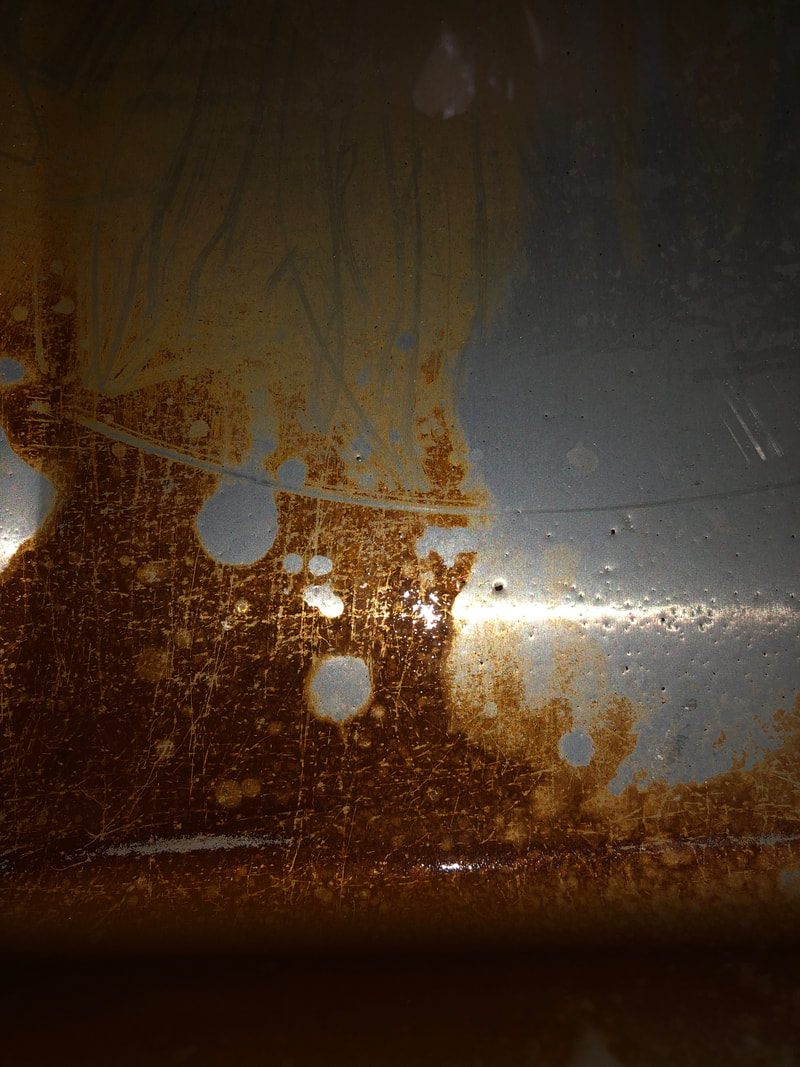 This isn't going to be easy. This is going to take some time and more attention to detail. I've poured nearly the rest of my gallon of acetone in the tank and strapped it into the back of my work truck. All the ports are covered. Hopefully the driving for the next week will help clean the tank. 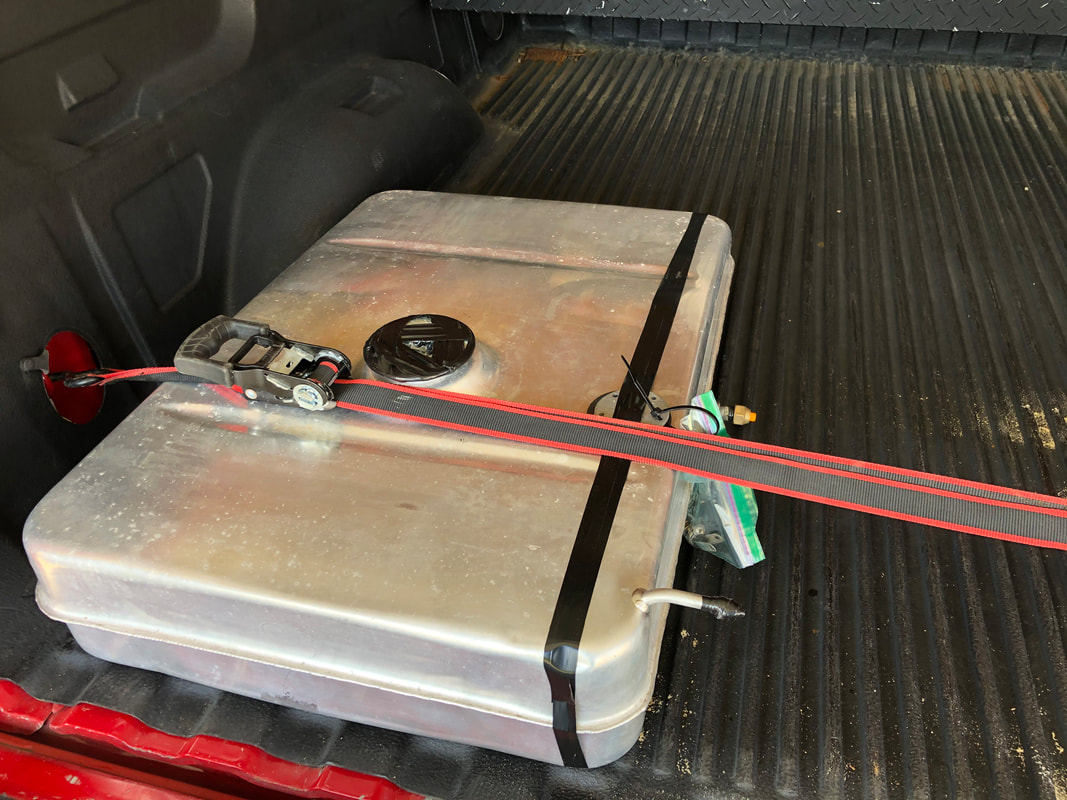 I have a $385 order into Aircraft Spruce to buy a quart each of Alumiprep and Alodine, two new sump drains, a few fasteners and nuts, and all new seals. This is going to be an expensive project.
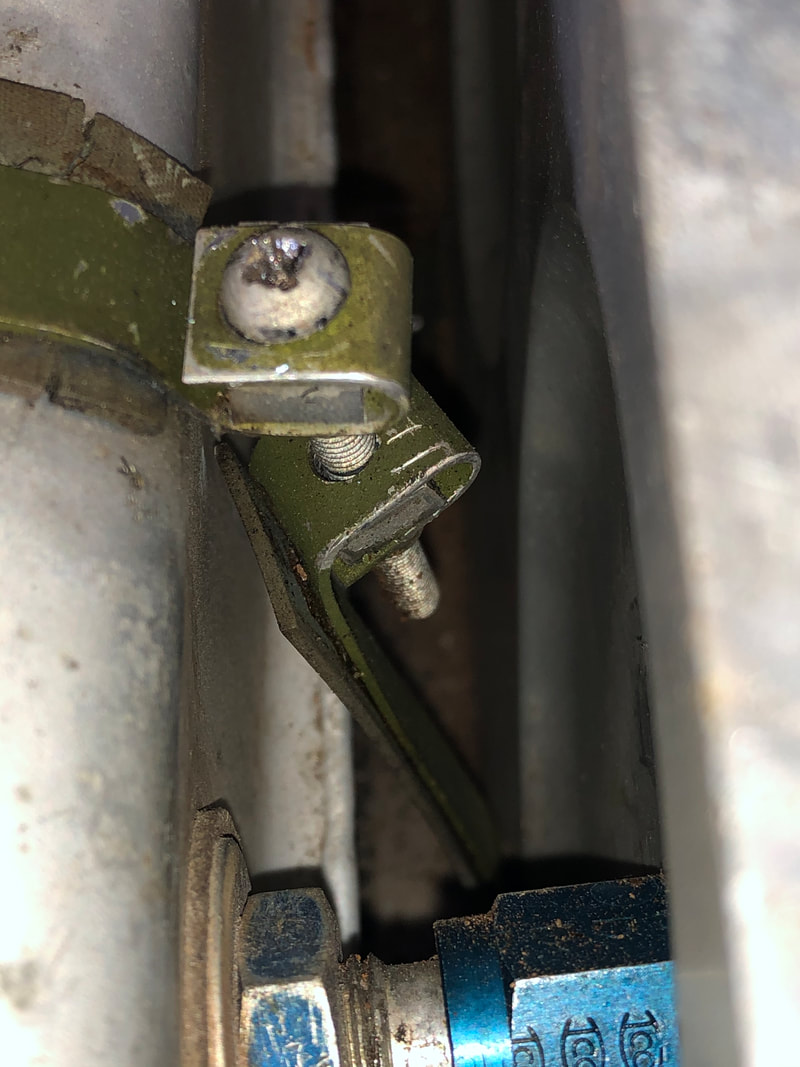
Side Note: While testing the two fuel transmitters (that worked during the run-up,) I noticed the co-pilot side transmitter wanted to "catch" every now and then somewhere around the quarter tank mark. It wasn't every time and it was only under the most critical of inspection. In normal operation I would assume the float would not try to hang but I could slowly let the float fall by hand and it could hang at a quarter tank. I am going to think about this a while. I could see a situation occur in stable level flight for a long time where the float could read 1/4 tank on the copilot side and actually be closer to 1/8 or empty. Any bump would correct the error but its still possible. It looks like the new transmitters have plastic floats instead of brass floats. I've heard of these degrading over time... introducing FOD into the fuel system and transmitter failure. I'm not convinced new is better, especially for another $350 per transmitter. Comments Appreciated. 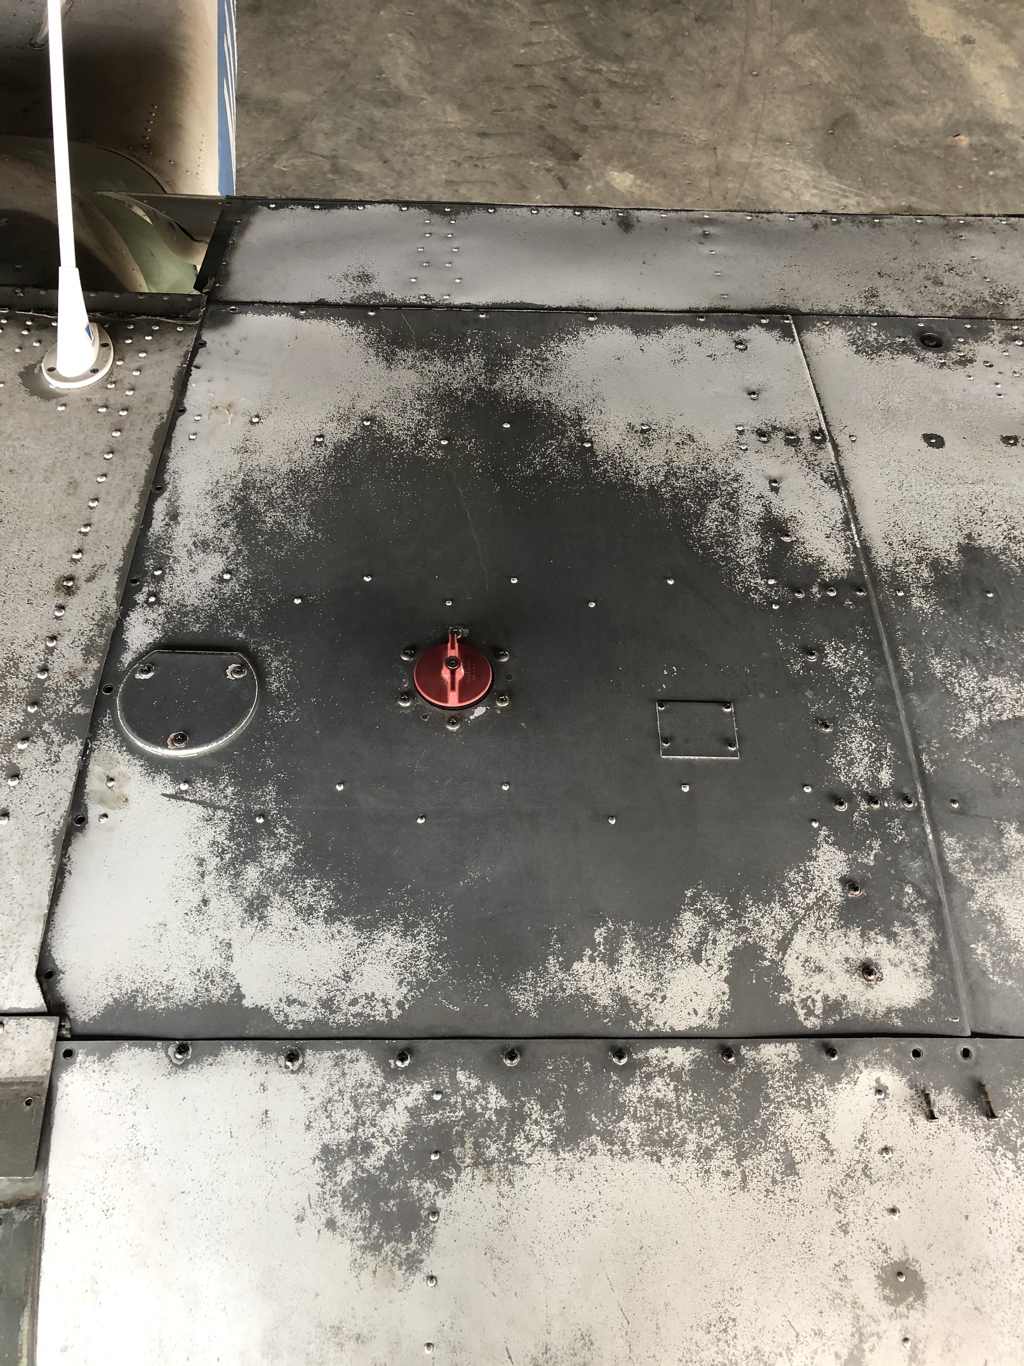 From the appearance of this cover, there is no telling what will find inside. My grandfather was a frugal man to say the least but not at the expense of safety. While cosmetics are in dire need of improvements, I hope the maintenance is on par with what I believe it to be. With the manual, parts catalog, and attention to detail by my side, lets dig in. Notice the screws are unpainted stainless. Someone has been here before. Also note the fasteners are different lengths. It will be important to reinstall the right length fastener in the right place to prevent damage to the nut plate. If I mess up a nut plate in the forward part of the wing, I might have to try my skill at sheet metal and rivets a lot sooner than planned to replace the nut plate. Fingers crossed! 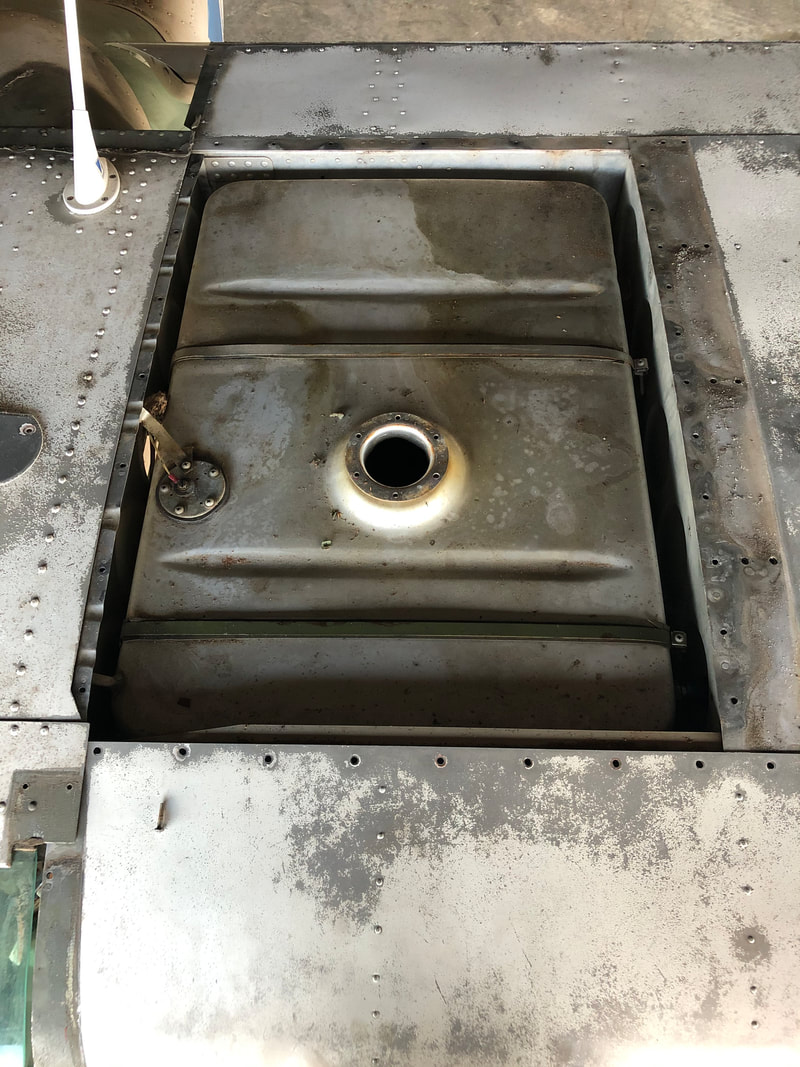 Each and every machine screw came out just as easy as you please. I see more evidence someone has been here. The forward strap has been painted in zinc chromate. Dirt dobbers and fuel stains from days long past are evident. The fuel lines, crossfeed, transmitter, and ground are disconnected. This is a good place to stop.
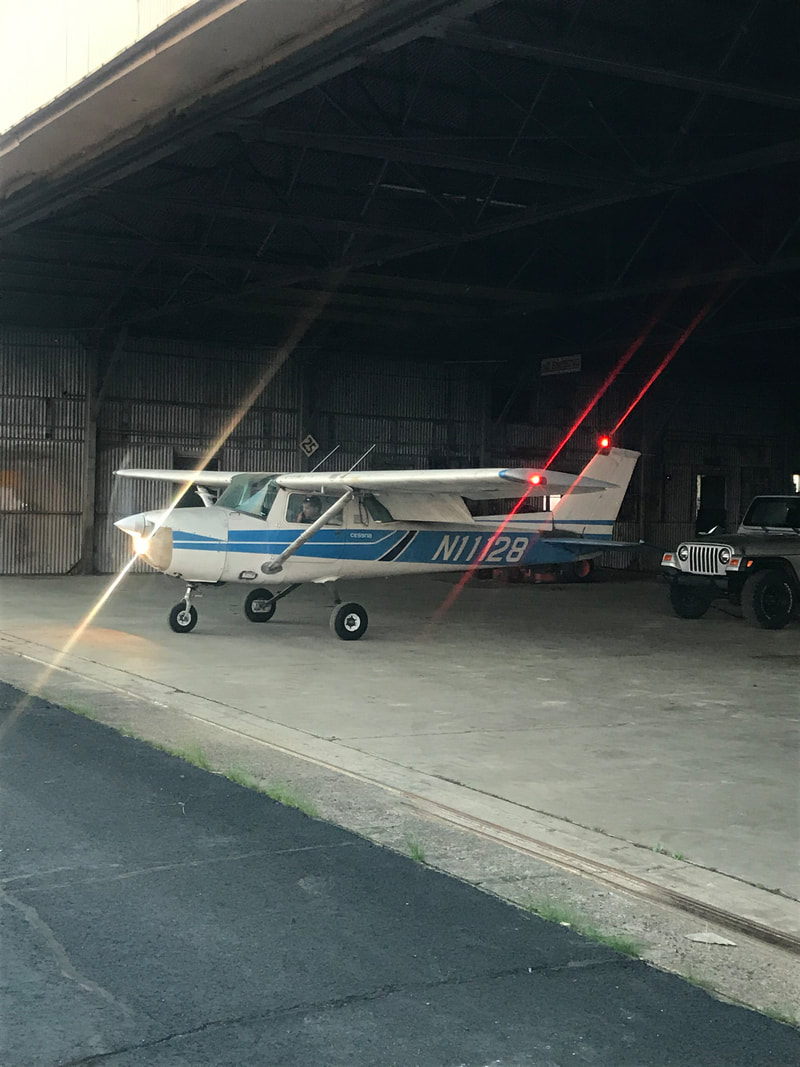 This journey is a decade in the making but only just getting started. My beloved 150 has sat wingless in storage for 8 years almost to the day, but no longer! The wings are on, a few gallons are in the tanks, and the battery is charged... lets see what happens!
|
AuthorI can't think of many things I am more passionate about than this particular plane. I was about five years old when I first sat in this plane with my grandfather and dreamed bigger than life itself. Calling the road from then to now a roller-coaster would be the understatement of the century, but here we are. Thanks to God, my wife, family, friends, and late grandfather whom I am eternally indebted. We are here... today... working towards living a dream bigger than life itself. 
ArchivesCategories |
 RSS Feed