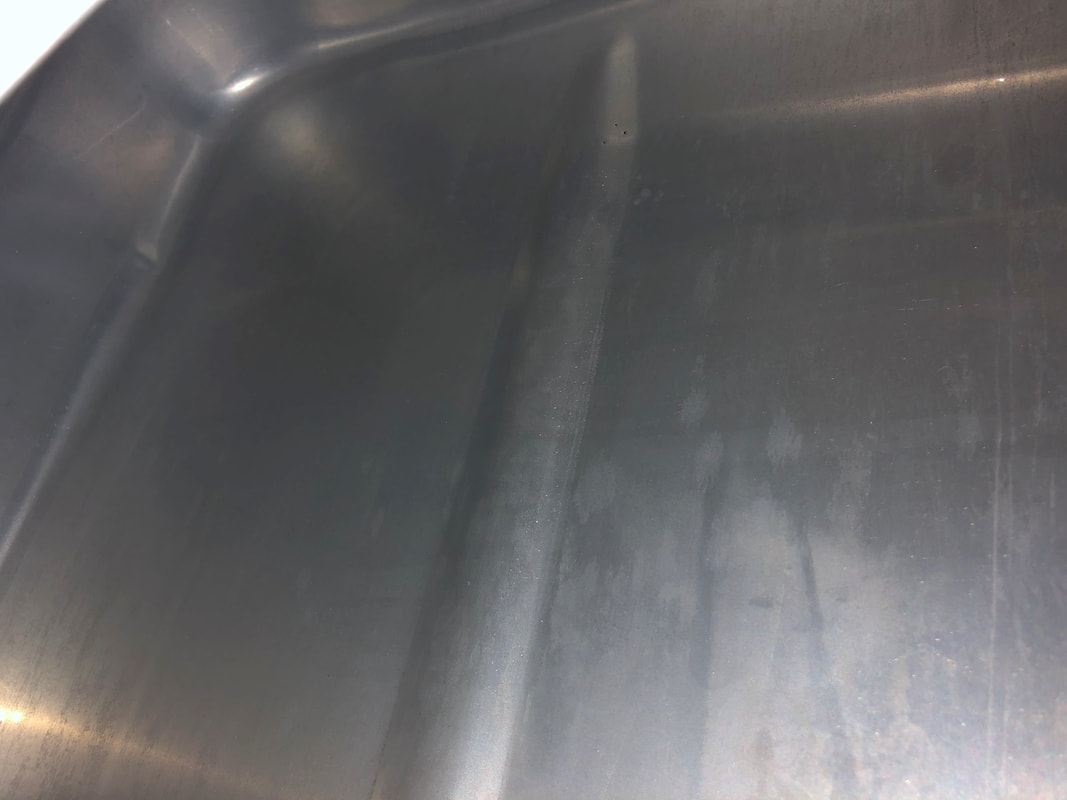
 Voila! I can't say that riding around with the tank in the back of the truck for a week made it this clean but it certainly loosened up some gunk. What you see here is a result of washing, rinsing, and repeating. Lastly, Bonderlite C-IC 33 (formerly called Alumiprep) from Aircraft Spruce brought this to a shine. I poured in the Bonderlite 33 without diluting and sloshed it around for several minutes, rinsed and repeated. This stuff is amazing! After this, I used the Bonderlite M-CR 1201 (formerly called Alodine) in the same manner to convert the raw aluminum to a nice golden color. 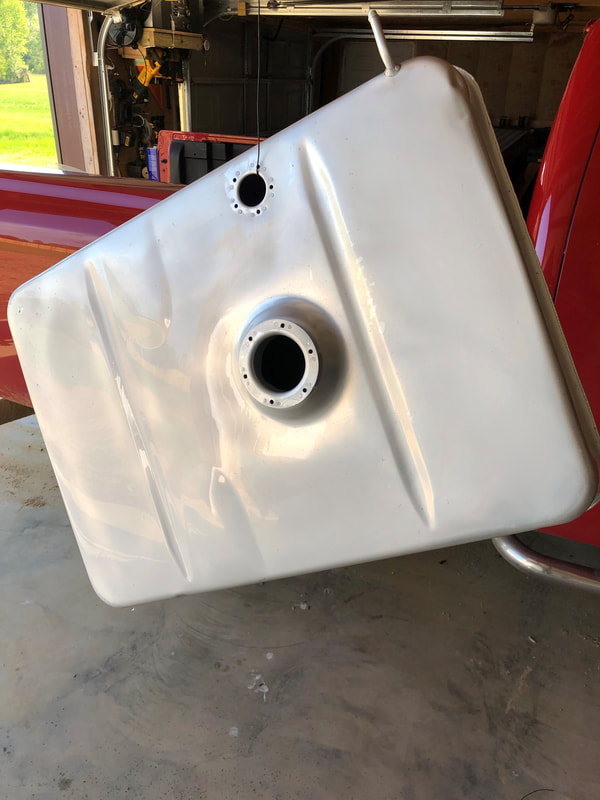 I can definitely see where an immersion tank would be useful for someone who does this everyday or wants a superior uniform result. I used a sponge soaked in alumiprep to coat the outside of the tank. Pictured is after the third application and rinse. Notice how the water sheen is uniform and not trying to bead. This indicates a clean and prepped surface. 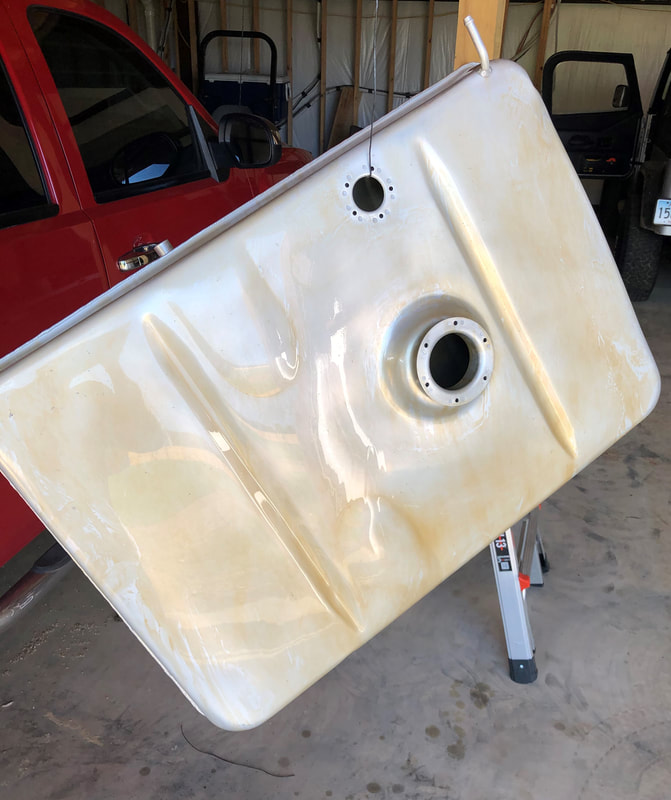 I wish I had a tank of alodine for this step. Before letting the water dry from the previous step, I used a clean sponge soaked in alodine to coat the tank in a uniform manner but this was difficult. You can see places where the alodine is more concentrated than others. This will not win a beauty award but it should be sufficient to chemically convert the aluminum and prevent corrosion.  I had a can of zinc phosphate and decided to coat the tank after alodine. I am not sure if it was totally needed or not but it couldn't hurt. The tanks are something that can be skipped during annual so years can go by without any attention, therefore I do not think it is a bad idea to really load up on the protective layers. 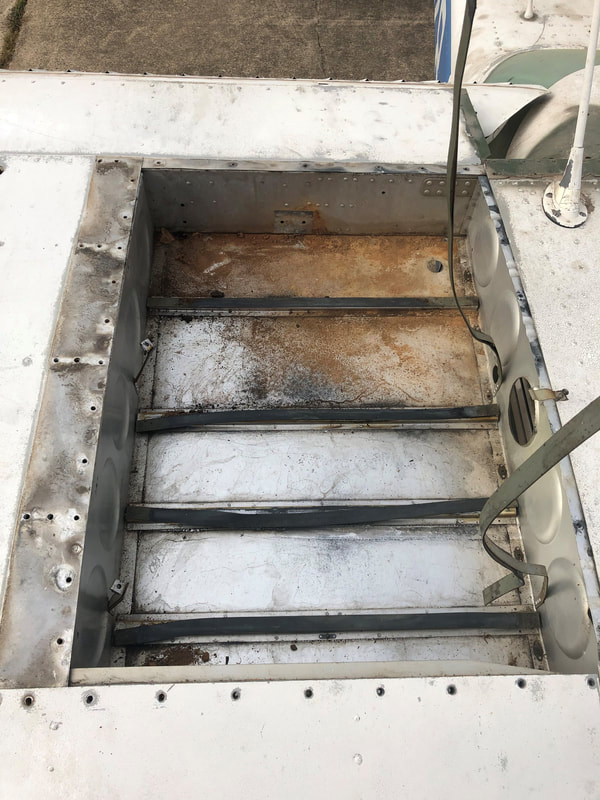 The tank bays are nasty from years sitting on the ramp. mud dobbers have filled the wings year after year with dirt. 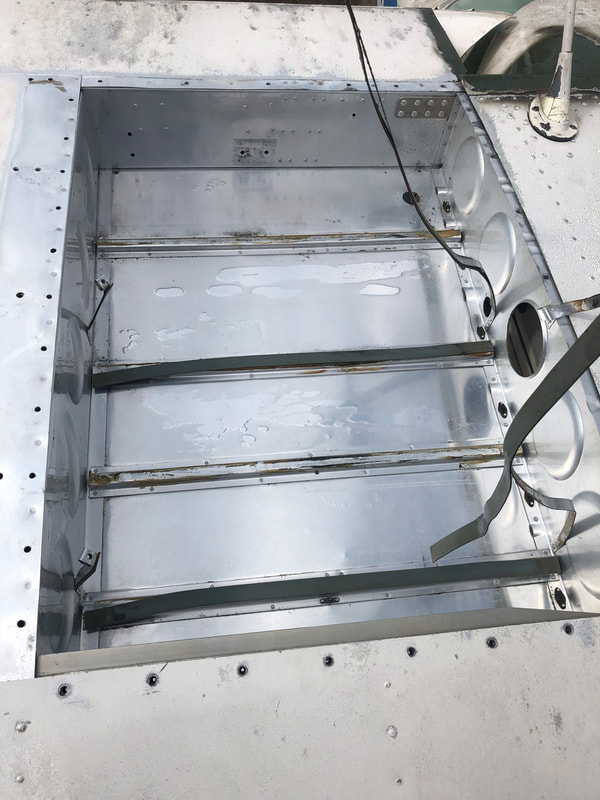 Some washing, rinsing, and repeating followed up with some alumiprep did the trick. The transformation is amazing and hugely gratifying. 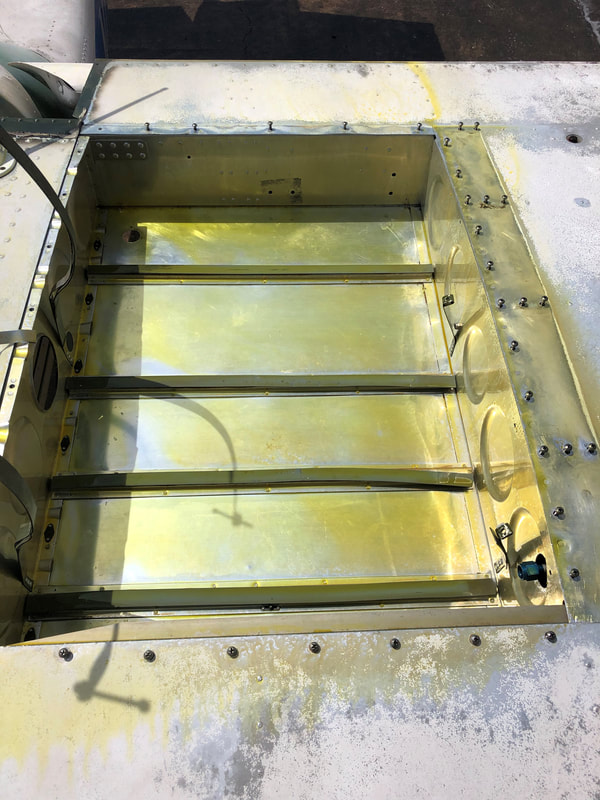 I wish I was better with the alodine. I find it hard to apply evenly. In this situation I used a pump up sprayer set to a mist setting to coat the bay. Again, I did not let the water from the previous step dry. I let the alodine sit for a couple minutes and then rinsed and repeated. 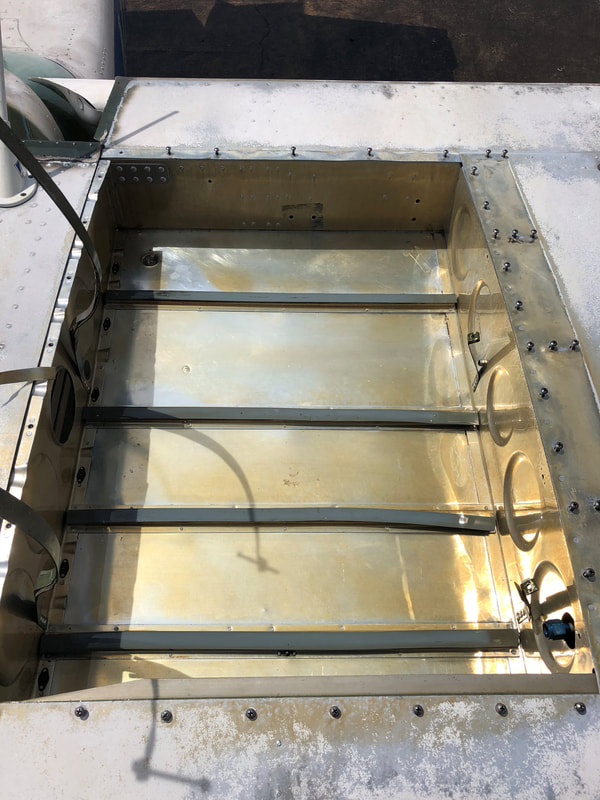 Here is the result after three applications. Notice parts of the skin are lighter than others. 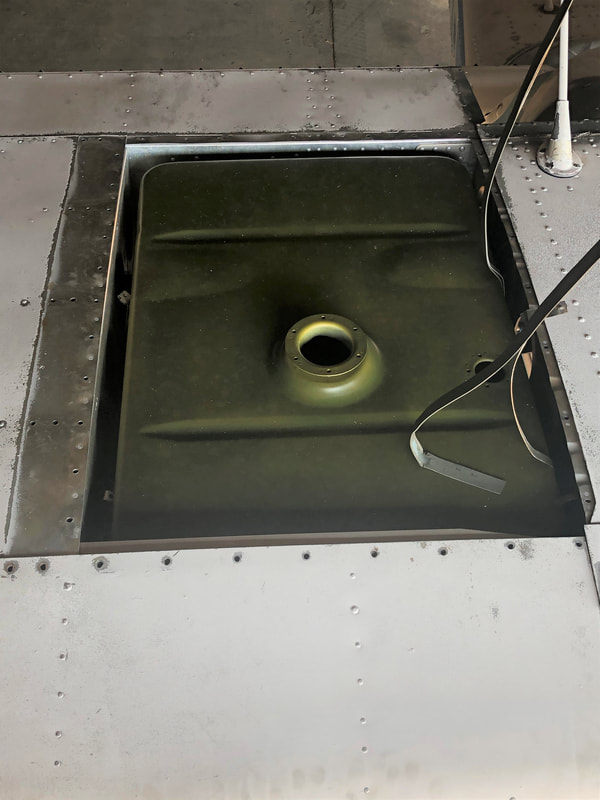 Back in the hangar and tank in place. Probably the hardest part of removing and installing the tanks is dealing with the wood block held in by two screws. One screw is easy to access through a slot for the flap track. The other screw is much more difficult and requires a small #2 phillips in a ratchet or similar setup. It also does not hurt to have an extra set of small hands. 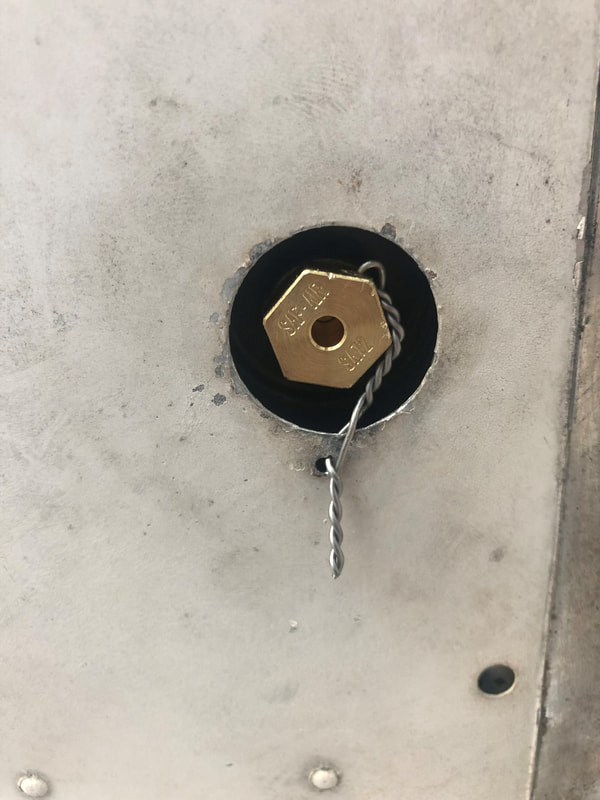 The new sump drains are installed and safety wired. I went with the largest wire I could to spread out the force/pressure applied to the wing skin.
|
AuthorI can't think of many things I am more passionate about than this particular plane. I was about five years old when I first sat in this plane with my grandfather and dreamed bigger than life itself. Calling the road from then to now a roller-coaster would be the understatement of the century, but here we are. Thanks to God, my wife, family, friends, and late grandfather whom I am eternally indebted. We are here... today... working towards living a dream bigger than life itself. 
ArchivesCategories |
 RSS Feed